Effective use of numbered multilevel heading styles enhances clarity and distinction between heading levels. This, in turn, improves the readability and traceability of reports. Properly formatted headings play a crucial role in generating an accurate table of contents for your report. Furthermore, chapter numbers are commonly utilized as prefixes for table and figure captions.
In Microsoft Word heading styling and numbering are done separately.
Table of Contents
Steps to Create Numbered Multilevel Heading Styles in Microsoft Word
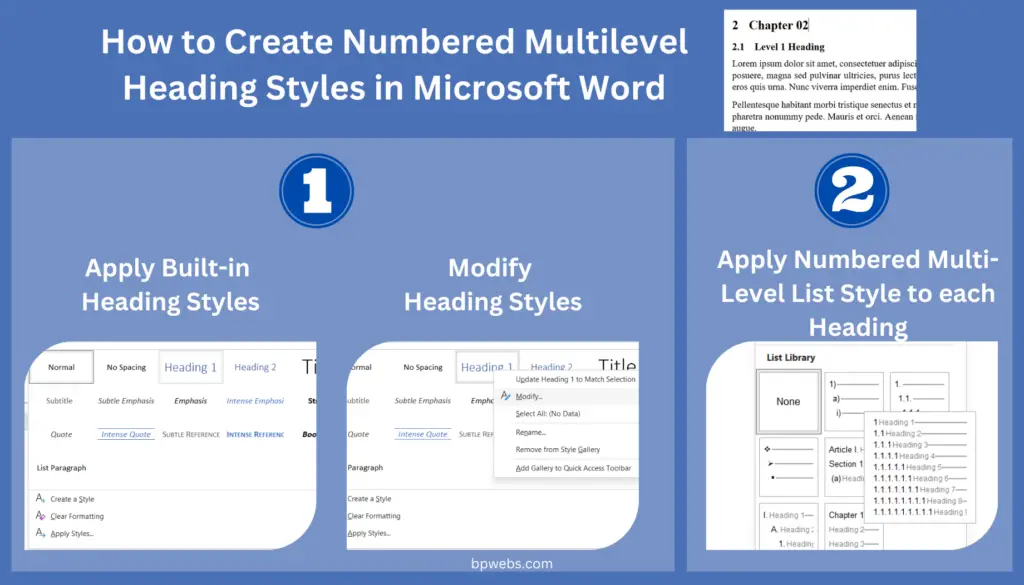
Mainly there are two steps to follow. First you need to apply built in heading styles to your heading and modify them to match with your document. Then you need to apply numbered multi level heading style to each heading.

Step 01: Apply built-in heading styles
The first step of creating numbered multilevel heading styles is applying heading styles to your intended headings. Heading styles are listed in the Styles group of the Home tab. To apply a style to your level 1 heading;
- Place the cursor somewhere in the heading or select the heading
- Go to Home tab
- In the styles group, select Heading 1 style
Likewise, you can select each and every heading and apply Heading 1, Heading 2, Heading 3, etc… styles as appropriate.
Modify heading styles
The default formatting of the styles can be changed to match the theme of your report. To change the default formatting of the styles;
- Right-click on a style (let say Heading 1)
- Then select Modify… (This will open up the Modify Style dialog box)
- Style your heading using this dialog box and click Ok.
then all the headings are automatically updated to your modified style.
Step 02: Add heading numbers
The second step of creating numbered multilevel heading styles is adding heading numbers to your headings. To add numbers to your headings;
- Go to Home tab,
- Click Multilevel List in Paragraph Group
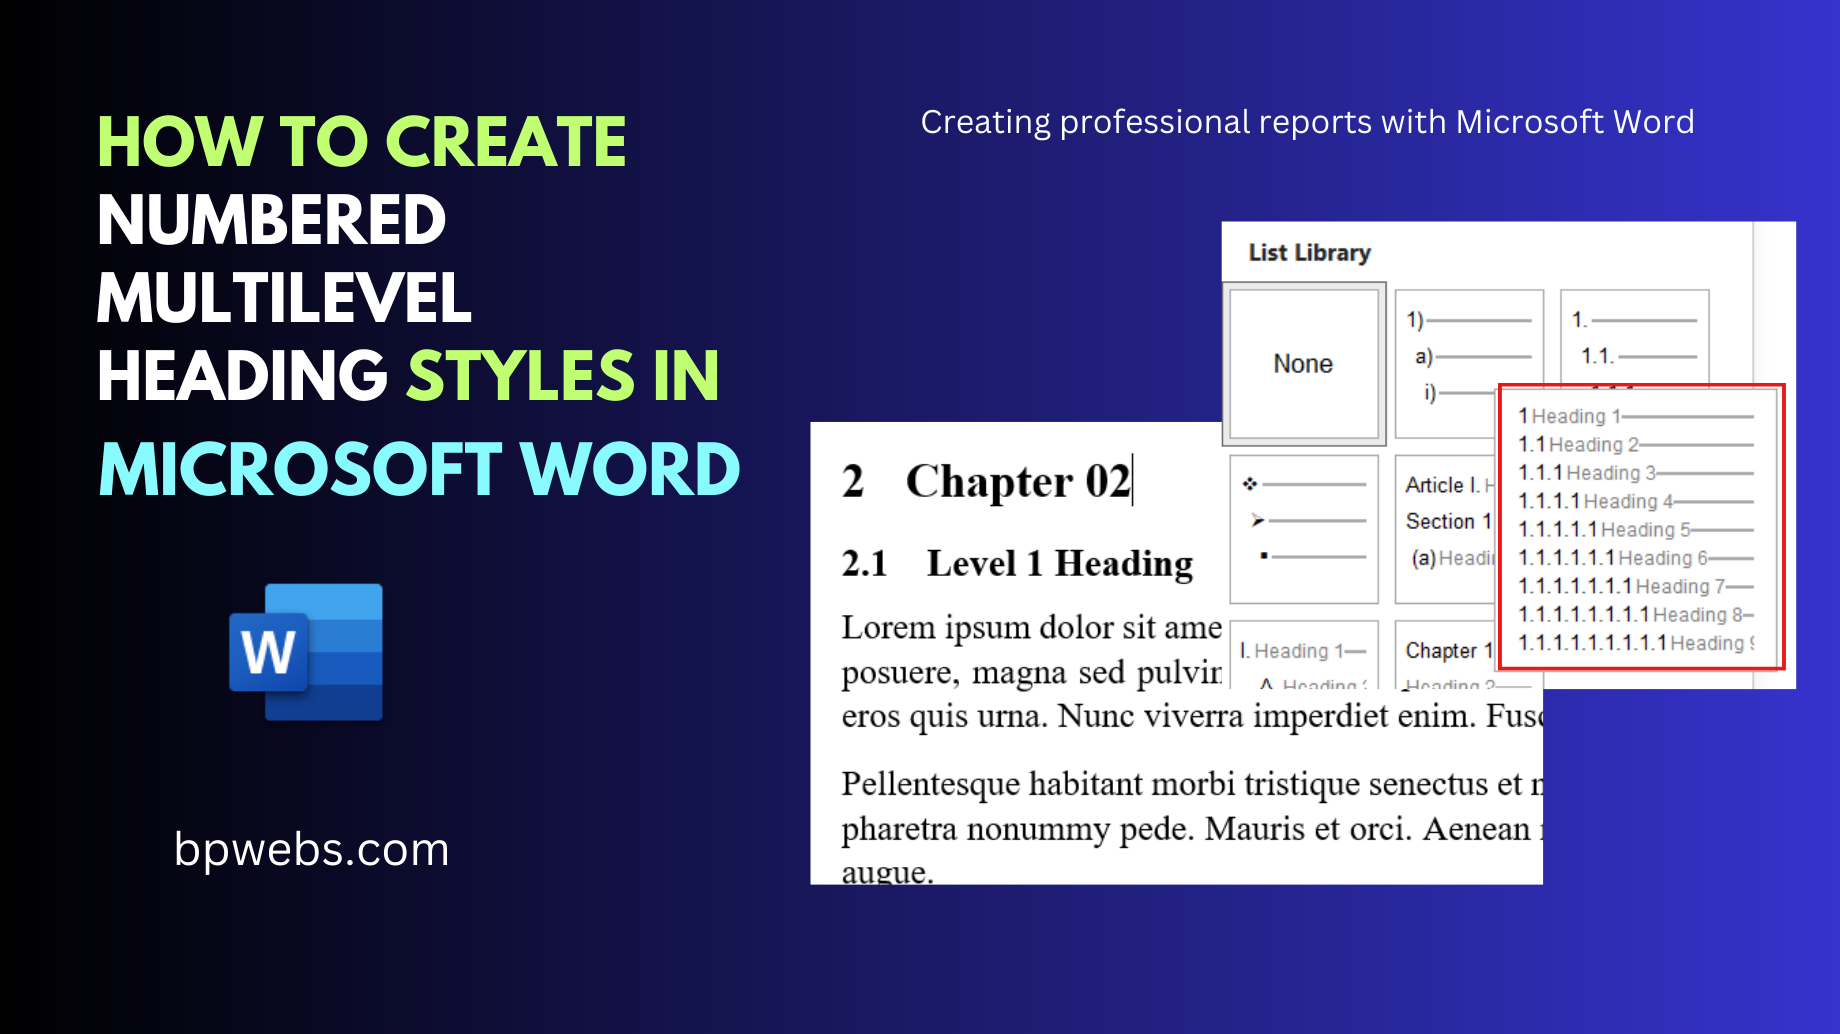
- Select the style that includes the word “Heading”, here you can choose the list-icon with 1 Heading 1, 1.1 Heading 2, 1.1.1 Heading 3 etc. (See the following video demonstration)
Note: Add numbers to your heading with this method, you need to use built-in heading styles for your headings as explained above.
Once you select the multilevel headings as explained above, the heading numbers are added to all the text which you have formatted with built-in heading styles (all heading levels). Next time you format text with heading styles, the numbers are added automatically in the correct sequence. Numbers of the all other headings are adjusted accordingly.
Removing Microsoft Word heading numbers
Some times you may want to remove automatically added heading numbers from some headings. For example, heading numbers are not required to headings such as Abstract, Acknowledgement, etc. To remove heading number;
- Select the particular heading
- Deactivate the numbering icon in the Home tab
Watch the following video that explains the above steps.
Wrapping Up
In Microsoft Word heading styling and numbering are done separately. First, you need to apply Microsoft Word built-in heading styles to your headings. Then you can apply word heading numbering to them. In this tutorial, we showed you how to use numbered multilevel heading styles and removing heading numbering in word.
You may also interested in How to Create Professional Reports with Microsoft Word.


So how do you keep you headings from getting all Jacked Up? I want these locked down so they can NEVER change. However, every time I get in a document someone has copied in paragraphs from another document that completely screw up my document.